

Body Care Advice
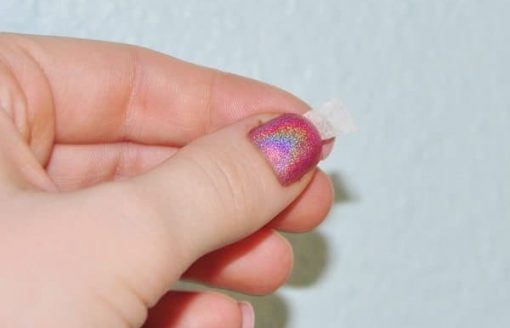
’90s Revival — Watercolor Nails (A How-To)
Paging Topanga Lawrence and Kelly Kapowski! These watercolor claws layout I created is’fab that I am not certain what to do with myself. And considering the fact that’90s fashion is indeed I can’t envision a better high-impact manicure!
Fact: I did not just mean to go full size’90s. I think it’s the colour combo that has me conjuring up thoughts of”Full House,””Family Matters” and”Saved By The Bell.”
What I was really going for was watercolor. I’m super-obsessed using watercolor paintings and wanted to create a similar effect on my fingernails. I used a method I haven’t seen done before in an attempt to get that fluid-y, melty watercolor impact and was pleased with the results.
Watercolor Nails — the Tutorial
This appearance can be created by anyone. You just want three to a paintbrush four nail polishes and some nail polish remover. I used four colours: Zoya Shelby (pink) and Arizona (orange), Sinful Colors Why Not and NYC Prince Street.

After your base coat dries, use a drop of nail polish. I used an indicator card. Dip your paintbrush into the polish. It is possible to discover paintbrushes at the craft store, online or even in beauty shops. Save and wash the brush of a classic nail polish.

Dunk that the polish-dipped brush to nail polish remover. There is A dip everything you want.

Press the thinned polish from the nail in places.

Usually once is sufficient for each nail, although you may need to re-dip in polish and remover. Apply the polish on the nail, as here.

Repeat with your colour.

And your third colour.

And your fourth colour. Voila! Wait for the polish.
)
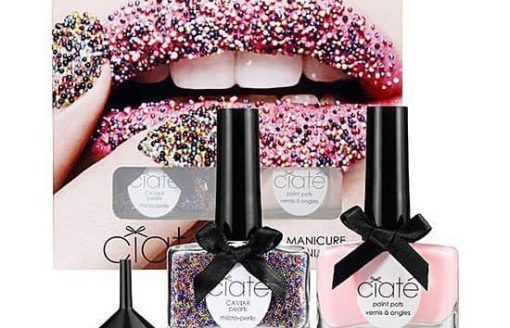
Caviar and velvet Nails to the Next Level